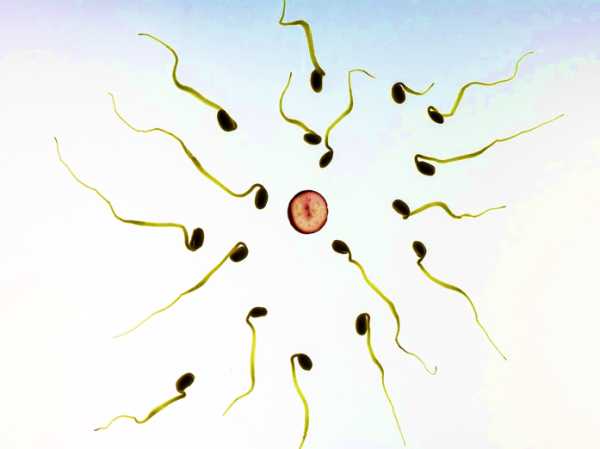
Advanced age has a negative impact on sperm quality and integrity of DNA –
Age: Advanced paternal age (usually 40+) is linked to increased risk of miscarriage, autism, schizophrenia, and some genetic disorders.
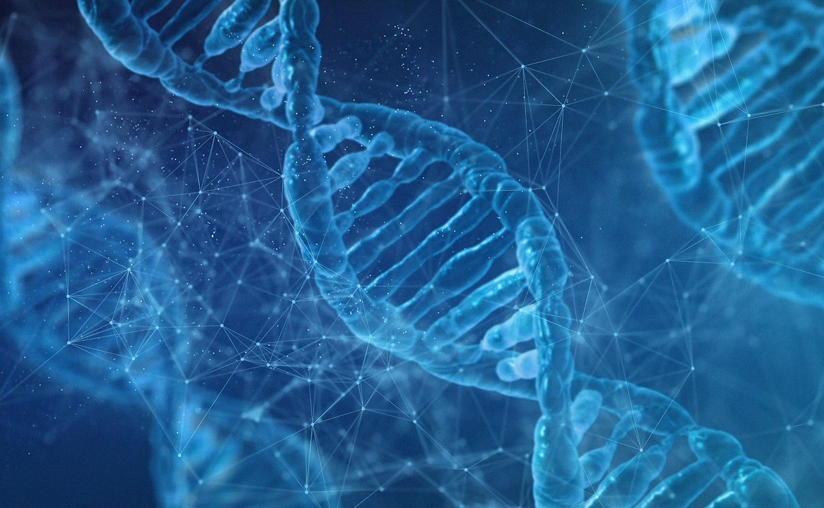
DNA damage: Poor diet, smoking, alcohol, pollution, and stress can damage sperm DNA, potentially leading to developmental issues in the baby.
Epigenetic changes: Sperm from older men may carry epigenetic marks that influence gene expression in the developing fetus—potentially affecting metabolism, brain development, and aging.
Longer time to conception: Studies show it can take longer to conceive with an older father, even if the female partner is young and healthy.
Pregnancy complications: higher miscarriage rates-Risk increases due to DNA damage in sperm. Stillbirth – Some studies suggest a slightly increased risk of stillbirth.
Image credit: Image by Victoria from Pixabay (Free to use under Pixabay content license)
Inherited health risks –Fathers can pass on mutations or predispositions for conditions like diabetes, heart disease, or mental health disorders.
Epigenetic Inheritance: Stress, diet, or toxin exposure before conception can influence which genes are turned on/off in the baby—affecting their risk for obesity, allergies, or chronic disease.
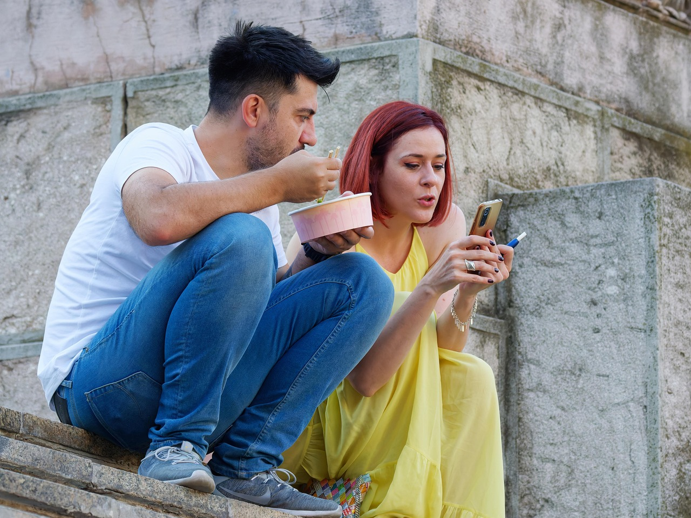
Fertility and conception-
Sperm count and motility: Overall health, especially metabolic and hormonal health, influences sperm’s ability to fertilize an egg. As men age, the amount of semen and mobility of the sperm decreases.
STIs and Infections: Untreated infections in the father can impact fertility and pose risks to the baby.
Image credit: Image by Thomas Breher from Pixabay (Free to use under Pixabay content license)
Impact Of Father’s Health And Age On Fertility And Baby’s Health
When conceiving people focus solely on the mother’s health. A father’s health also plays a significant role in the health of the baby during conception, pregnancy, and beyond. While maternal health has traditionally received more focus, emerging research shows that paternal factors can directly and indirectly affect fertility, pregnancy outcomes, and the child’s long-term health.
A father’s physical and lifestyle health and age can significantly affect fertility and the health of the future child.
Forever Chemicals PFAS Are Harmful For Pregnancy And The Baby
Polyfluoroalkyl substances (PFAS) are a large group of human-made chemicals used since the 1940s in various industrial and consumer products due to their resistance to water, oil, and heat. They are often called “forever chemicals” because they do not break down easily in the environment or the human body. These “forever chemicals” are harmful during pregnancydue to their persistence in the body and their ability to cross the placenta.
PFAS can cross the placenta and accumulate in the fetus. Numerous studies suggest potential risks, although the extent of harm may depend on the type and level of exposure.
Health risks linked to PFAS exposureduring pregnancy:
Lower birth weight: One of the most consistent findings. Babies exposed to utero may be slightly smaller.
Preterm birth: Increased risk of delivering before 37 weeks.
Pregnancy-induced hypertension and preeclampsia: PFAS may affect blood pressure outcomes regulation.
Disruption of thyroid hormones: These hormones are essential for fetal brain and body development.
Immune system impacts: Potentially lowering the baby’s immune response.
Changes in lipid metabolism and glucose regulation: Which may influence long-term child health.
Long-term child health effects: Exposure may be associated with later risks of obesity, hormonal issues and learning or behavioral disorders.
How to reduce PFAS exposure during pregnancy
Avoid non-stick cookware with PFAS (opt for ceramic or cast iron).
Minimize fast food and microwave popcorn (often in PFAS-lined packaging).
Check beauty and skincare productsfor PFAS (look for ingredients like PTFE or “fluoro”).
Use water filters certified to remove PFAS (especially if you live near known contaminated areas).
Stay informed about local water quality and avoid fish from PFAS-contaminated waters.
Read labels for ingredients – whether it is food package or cosmetics.
Remember – Your baby’s health depends on your health. What you put in your body directly or indirectly influence baby’s health!
Rain and hot Manchurian are good combination to enjoy a monsoon evening! Have you ever tasted raw banana Manchurian? If not, try banana Manchurianto enjoy a rainy day. It tastes delicious with fried rice or coffee/tea. Try this banana snack for your evening!
Here are steps to prepare banana Manchurian recipe.
Ingredients:
For frying the banana:
Ras bananas (peeled and sliced into thin batons or cubes) -2.
Cornflour-3 tbsp
All-purpose flour (Maida)- 2 tbsp
Ginger-garlic paste- 1 tsp.
Salt to taste
Black pepper powder -1 tsp
Water (as needed for coating)
Oil for deep frying
For Manchurian sauce:
Oil – Tbsp
Finely chopped ginger – 1 tsp
Finely chopped garlic – 1 tsp
Green chilies, slit – 1 or 2.
Chopped onion – ¼ cup.
Chopped capsicum (optional) – 1/4cup.
Soy sauce – 2 Tbsp
Tomato ketchup – 1 Tbsp.
Red chili sauce (adjust to taste)- 1 tsp.
Vinegar (optional) – 1 tsp
Corn flour mixed with ¼ cup water (for thickening) – 1 tsp.
Spring onions for garnish – ¼ cup.
Preparation:
Preparing bananas: Boil the raw bananas with skin until they are just tender (not mushy). Peel and chop into small cubes or thin fingers.
Make batter: In a bowl, mix corn flour, all-purpose flour, salt, pepper, and ginger-garlic paste. Add enough water to make thick coating batter. Toss banana pieces in this batter to coat evenly.
Fry the bananas: Heat oil in a pan and deep-fry the banana pieces until crisp and golden. Drain on paper towels.
Prepare Sauce: Heat 1 tbsp oil in a wok or pan. Add ginger, garlic, and green chilies. Sauté for a few seconds. Add onion and capsicum (if using), and stir-fry on high flame for a minute. Add soy sauce, ketchup, chili sauce, and vinegar. Mix well, then pour in corn flour slurry. Stir until it thickens.
Mix well: Add the fried banana pieces to the sauce. Toss to coat evenly. Cook for a minute until sauce clings well.
Garnish and serve: Sprinkle chopped spring onions. Serve hot as an appetizer or with fried rice or have evening coffee or tea.
Image credit: Raw banana – Image by Michael from Pixabay (Free to use under Pixabay content license)
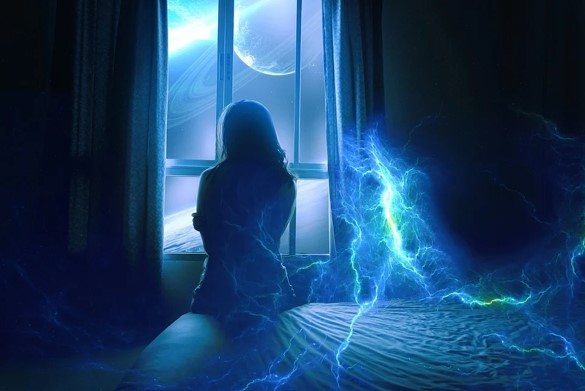
When you meet someone, you may feel good and energized. This is what is also known as positive aura or sensing another person’s aura which is giving positive vibe. Aura is all about energy surrounding a person. Each person has his or her own aura that influences lives of people who they meet in everyday life.
Aura is the energy field that encloses the body of humans (and animals). Aura is also defined as an electromagnetic field that surrounds human being. In yoga practices aura is linked to different types of chakras in the body. Aura is believed to protect body against disease and negative environment. When our aura is weak, we may become vulnerable to germs, emotions, attitudes of others and it results in sickness, unhappiness and dullness. One can expand our aura with ritual spell kitsto unlock their full potential.
Some people have strong aura that uplifts many. Like wise there can be many, when we meet them we feel our energy goes down and day becomes immensely dull and boring. Or sometimes due to circumstances you might experience lethargy that pulls you down that leads to negative energy. How to overcome this? How one can in simple steps cleanse aura to feel better?
What happens when our aura into negative energy?
Stressed mind
Physically – feeling lethargic
Unhappiness
Feeling sick
Sense of under achievement
Becoming moody
Getting angry
Simple ways of cleansing aura
Practice meditation: There are different ways one can meditate. Chose the meditation that you feel happy about. Daily 10-15 minutes of meditation is good for uplifting your day. While doing meditation practice pranayama.
Take a bath in essential oil or aromatic herbs with Epsom salt: Fill the tub with handful of aromatic herbs like lavender, rose petals, or eucalyptus leaves. Add Epsom salt and have bath in this water. You can add essential oils like rosemary, lavender, rose oil, eucalyptus oil etc. to make it more effective and soothing. Aromatic herbs and crystals have healing power and will bring back the lost mood. Epsom salt and crystals such as clear quartz, amethyst influence healing and helps in balancing.
Moon water cleansing: Moon is soothing. People relax under moonlight to bring in positive energy. Add soothing crystal like rose quartz to water in a bowl and place under moonlight. Collect the water in a spritz bottle, add few drops of one of the essential oil – lavender, sage, sandalwood, rose – mix it and spray on your body. Belief is that moon brings energy.
Balancing chakra: Sit in a quite place and focus on various chakras of the body while grounding energy and connecting to mother earth. To know about chakra healing click here.
Connect to nature: walking in rain, walking in greenery brings new and fresh vibes to aura. While walking imagine that the earth healing energy is engulfing your body and healing.
Yoga and exercises: Any form of physical exercises releases stress. Yoga is highly recommended for cleansing the body as all muscles will stretch and helps to connect body to mind. Physical activities or exercises helps to get rid of energies that we picked up from others. This is the reason once we finish our daily dose of exercise, we feel light, positive and uplifted.
Singing bowls: Also known as Tibetansinging bowls -Good sound or a good music from an instrument influences brain by means of entertainment. When brain is calm and free of anxiety it triggers positive energy in the body. The musicality of the singing bowl helps in relaxation and reduces stress level. The vibrations and tones from singing bowl slows down heavy breathing, heart rate and disturbed brain waves.
What is the benefit of aura cleansing?
Helps in emotional balance
Brings back energy
Helps to get back in focus, raises vibes.
Brings happiness
Soothing effect
Removes all the negative thoughts
Aura cleansing is great for the body and once in a while practicing aura cleansing keeps the energy at balance. Aura cleansing is not a medical treatment. It is spiritual and to feel better when we are out of focus and feel lethargic with daily interaction with people who bring negative energy.