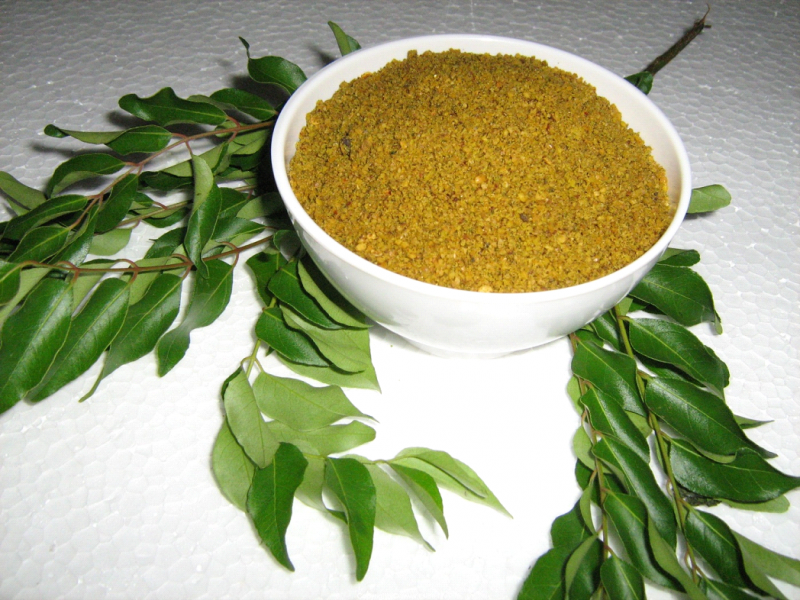
Curry leaves Powder
Curry leaves (kadi patta in hindi) is one of the common seasoning ingredients that is added to almost every dish to enhance its taste and flavor. However, rather than eating this humble leaf (which is slightly bitter in taste), most of us just throw it away. But, curry leaves have many unique values. Next time before throwing away, think about the benefits you get from this beautiful plant! If you do not like eating curry leaves then, try this tasty powder in your next meal – the tasty curry powder you can mix with rice.
Ingredients:
- Curry leaves -12 leaflets
- Urad dal – 1/4 cup
- Chenna dal -1/4 cup
- Black pepper -10
- Red chilli -10-12
- Asafoetida – 1/4 tsp
- Salt to taste
- Tamarind- a small lemon size
- Mustard – 1/4 tsp
Method:
- Wash the curry leaves and sundry or dry them on a paper towel.
- In a pan add the urad dal (Black gram), 10 black pepper and red chilli . Fry these three ingredients till the urad dal turns golden brown. Add curry leaves and fry for few more seconds until leaves totally becomes dry.
- In a pan add oil and add the tamarind and asafoetida saute for 2-3 minutes in a low flame.
- When all these above ingredients cool down, grind into a fine powder in a dry mixer.
- Heat oil in a pan, add mustard and a red chilli. Once mustard cracks turn off the flame and add to the above mix.
- Store this powder in a dry container.
- Add this powder to hot rice, mix with ghee or oil and have.
Benefits of curry leaves:
- Helps to beat anaemia
Kadi patta or curry leaves are a rich source of iron and folic acid
- Protects your liver from damage
The highly effective anti-oxidative properties – due to the high amount of kaempferol it contains – combined with vitamin A and C not only protects the liver but also stimulates it to work more efficiently.
- Keeps your blood sugar levels under check – fights diabetes
Curry leaves are potent anti-diabetic agents. They are believed to also have an adjuvant action on non-insulin dependant diabetics (people with type 2 diabetes).
- Lowers cholesterol and protects you from heart disease
Packed with antioxidants, curry leaves prevent the oxidation of cholesterol that forms LDL cholesterol (bad cholesterol). This in turn helps in increasing the amount of good cholesterol (HDL) and protects your body from conditions like heart disease and atherosclerosis.
- Strengthens the organs of your stomach and helps with digestion
In Ayurveda it is believed that curry leaves has mild laxative properties that not only help the stomach get rid of unwanted waste, it also rids the body of ‘ama’ (or toxic waste) and balances out the pitta levels in the body.
- Can help relieve the symptoms of diarrhoea
Even though curry leaves have mildly laxative properties, it is a great remedy for diarrhoea. This because curry leaves contains carbazole alkaloids that lend it anti bacterial and anti inflammatory properties that help heal an upset stomach.
- Reduces congestion in the chest and nose
If you suffer from a wet cough, sinusitis or chest congestion, curry leaves is a very effective home remedy to relieve the symptoms.
- Can help heal and reduce skin infections, beat early ageing
Curry leaves contains very strong anti-oxidant properties , anti-bacterial, anti-fungal and anti-protozoal properties. This makes a great home remedy for common skin infections like acne and fungal infections of the nail that are often difficult to treat.
- Is great to stop hair fall, premature greying of the hair and accelerate hair growth.
Image courtesy: http://www.itslife.in/wp-content/gallery/recipe-condiments/recipe-condiments-karibevina-chutney-pudi.jpg
Author: HealthyLife | Posted on: October 5, 2015
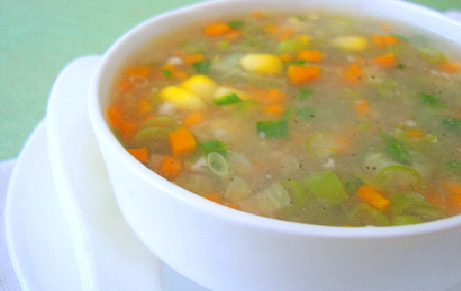
« Sweet Corn Soup preparation – Simple Recipe Apple Pickle Recipe »