Don't worry about the people in your past; There's a reason they didn't make it to your future.
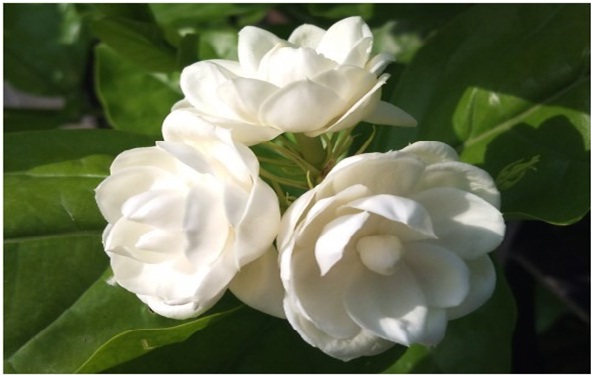
Jasmine essential oil (sedative)
Jasmine is a bush from which the flowers are either extracted by the labour-intensive method of effleurage (making it extremely expensive but a pure absolute great for aromatherapeutic use) or through chemical extraction. Jasmine essential oil is considered the King of oils with its rich long lasting aroma. The reason it is so expensive is because of the enormous amount of flowers needed to produce a small amount of oil. The flowers have to be gathered at night for the odour of jasmine is more powerful after dark. They are laid out on cotton cloths soaked in olive oil for several days, then extracted leaving the true Jasmine essence. Some of the countries of origin for Jasmine essential oil are India, Egypt, China and Morocco. Its chemical constituents include methyl anthranilate, indol, benzyl alcohol and linalol. Jasmine essential oil is known as a “woman’s oil” and as a uterine tonic it is good for menstrual pain and cramps. It has also proven very helpful in childbirth when used as a massage oil in the early stages of labour. It may also help with the delivery of the placenta after delivery and aid postnatal recovery. This essential oil has a reputation as an aphrodisiac, helping to relax and address sexual problems. On the emotional level, Jasmine essential oil is relaxing and emotionally warming, a powerful antidepressant of a stimulating nature, which is wonderful where lethargy or a lack of confidence has set in.
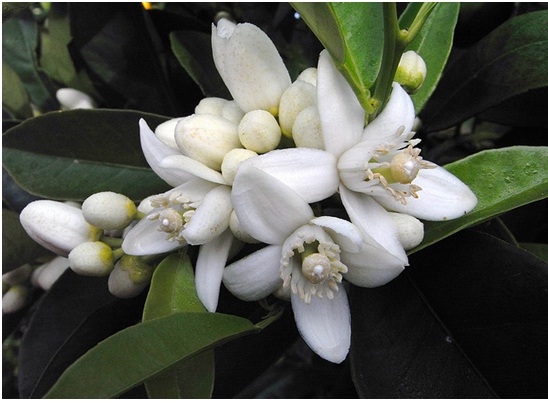
Neroli is steam distilled from the flowers of the bitter orange tree (Seville tree). It is an expensive oil because it can take up to 1000 lbs of orange blossoms to make just one pound of essential oil! Its active principles include linalol, linalyl acetate, limonene, nerol and nerolidol. Some of its countries of origin are France, Egypt, Italy and Morocco. Neroli has been used effectively to treat anxiety and sleep disorders arising from anxiety, emotional problems and shock. In skin care it is excellent for use on dry or sensitive skin, though it may be used by any skin type as it has the special property of being able to stimulate the growth of new skin cells. It is safe to use during pregnancy and is wonderful when mixed with a base cream to help prevent stretch marks.
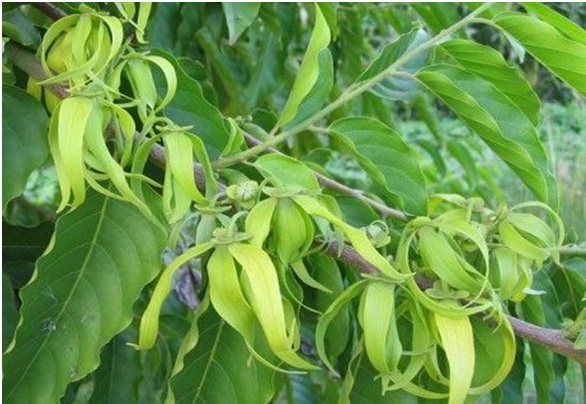
Ylang Ylang (Cananga odorata) is derived from steam distillation of the flower of a tree, which grows in the Philippines, Java, Sumatra and Madagascar. Some of its chemical components are methyl benzoate, methyl salicilate, eugenol and geraniol. It can vary in color from colorless to a pale yellow. Ylang ylang’s most important property is its ability to slow down rapid breathing and rapid heart rates. It is among the oils that have the ability to help reduce high blood pressure. In skincare, it is a suitable oil for both dry and oily skins, as it has a balancing action on the skin’s secretion of sebum. Ylang ylang is also an antidepressant, aphrodisiac and sedative. It is important to note that too much of this oil can cause nausea, and/or headaches.
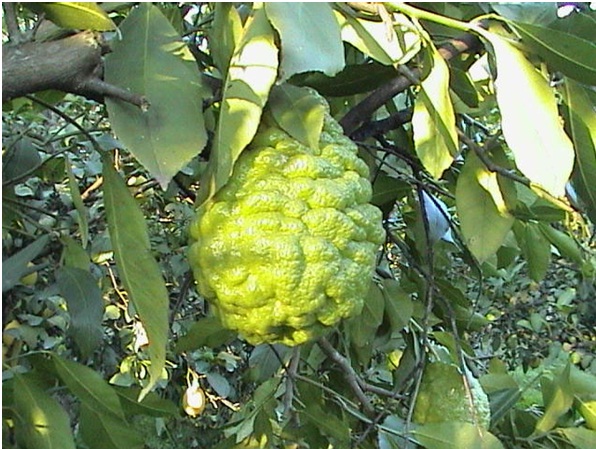
Bergamot essential oil comes from the fruit of the tree. Some of its countries of origin include Italy, New Guinea and Morocco. The rind of the fruit is cold pressed to create an essential oil that is yellowish-green to emerald in color. It typically has a naturally occurring chemical called bergapten (a furanocoumarin) which is a phototoxic agent that produces abnormally dark pigmentation and reddening of the surrounding skin after exposure to UV rays. Bergapten been removed from this Bergamot essential oil so is safe to use in products for the skin.
Bergamot essential oil is best known for its antidepressant and soothing qualities. It is an uplifting essential oil (not to be confused with a stimulating essential oil, which it is not) that is useful when treating nervousness, anxiety and insomnia and may even be helpful for hyperactivity. It lifts the spirits while helping to calm the soul, making it excellent to add to a massage oil for someone who is stressed out and depressed.
Mandarin essential oil is produced when the ripe fruit of the mandarin tree is expressed to produce a red essential oil. It is mainly produced in Italy, Brazil, Spain and China. Some of its main constituents are limonene, geraniol and citral. Mandarin (or Tangerine) is a very gentle essential oil. It is a safer citrus essential oil for children, pregnant women and the elderly. Because of its gentle action, Mandarin essential oil is regarded as the children’s remedy. One of its major applications is for treating digestive problems (mild antispasmodic, digestive stimulant). It has a tonic and stimulating effect on the stomach and liver, and it calms the intestines. This makes it wonderful for using on children when they get upset tummies or trapped gas. To utilize mandarin essential oil for this purpose, blend the essential oil into a massage oil and then massage onto the tummy. Massaged into the abdomen it can also help with gripe pains, hiccoughs, etc. (1% dilution for children). Always massage in a clockwise direction.
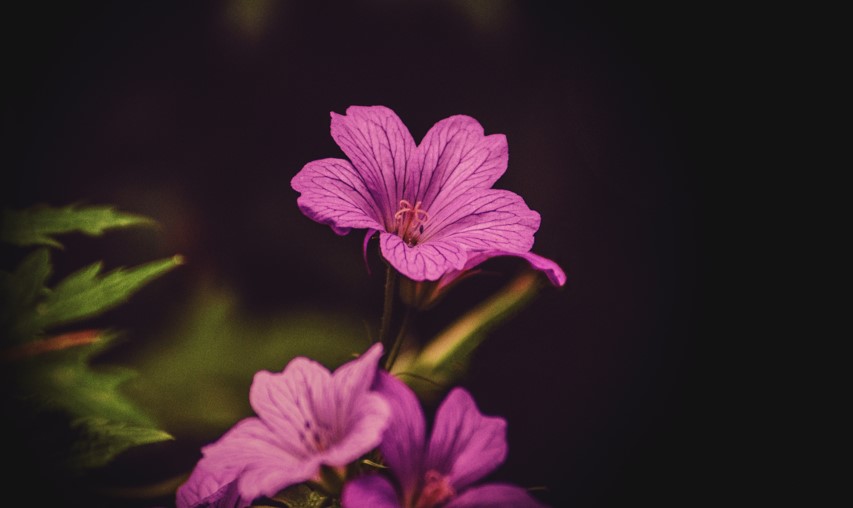
Geranium essential oil is a plant that is steam distilled to produce a light green oil. Some of its countries of origin include Algeria, Egypt and Morocco. Among its active components are geraniol and citronellol (usually making up at least 50% of the oil’s yield). Geranium is a wonderful essential oil for skincare, with its antiseptic, astringent, sebum balancing properties and cell regenerating capabilities. It is effective for most skin types, from mature, devitalized skins to dermatitis and acneic conditions. It can be blended into skin creams or cleansers for daily use. It may be wise to note that some sensitive individuals may not be able to use this oil as they may find it to be a bit irritating. Geranium essential oil also has the reputation of being an antidepressant, making it a great oil to burn or use in a room spray during “down” times or to help combat the “February Blahs”. Geranium essential oil is also an astringent and hemostatic (which means it helps stop bleeding) making it excellent for treating injuries and promote faster wound recovery.
Image credit: Photo by K. Mitch Hodge on Unsplash (Free for commercial use)
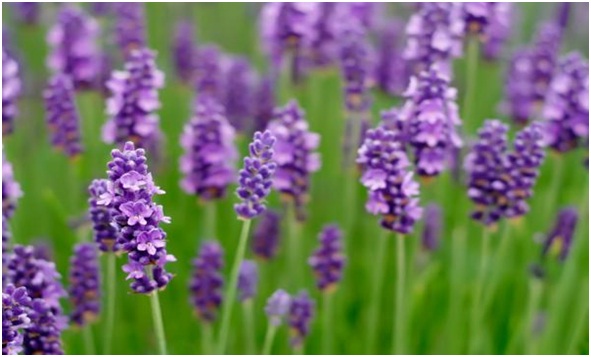
Lavender is a plant from which the flowers, leaves and stems are steam distilled to make lavender essential oil. This multipurpose oil’s active constituents include the ethers on linalyl and geranyl, geraniol, linalol, cineol and coumarin. Some of countries that produce lavender essential oil are Bulgaria, England, France and the Mediterranean. Lavender essential oil is a wonderful sedative which helps aid in sleep. When massaged into the temples, lavender essential oil may help to relieve headaches. For muscular pain, this oil is excellent, especially blended with Rosemary essential oil or Marjoram essential oil, as the properties of Lavender essential oil improve when mixed with another essential oil. As an essential oil, Lavender essential oil has antiseptic properties and was used in hospitals for disinfecting surfaces during WWI. It is also considered as an effective natural anti-inflammatory
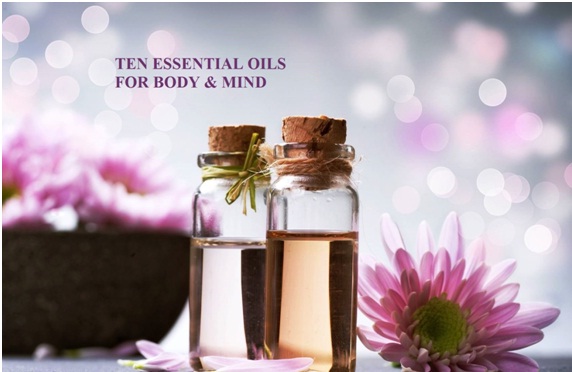
Essential oils are the fragrant, highly concentrated natural constituents that are found in plants. They are what give the plant its characteristic odor and contain the healing power of the plant from which it was extracted. An oil is “essential” in the sense that it contains the “essence of” the plant’s fragrance—the characteristic fragrance of the plant from which it is derived. Essential oils enter the body primarily in three ways—applied to the skin, inhaled, or ingested. Within each of these, there are many different kinds of application methods. For example, you can apply essential oils topically using compresses, sprays, baths, or massaging them into the skin. Next few slides explain ten types of essential oils that can be used for various conditions.