


 Fusion
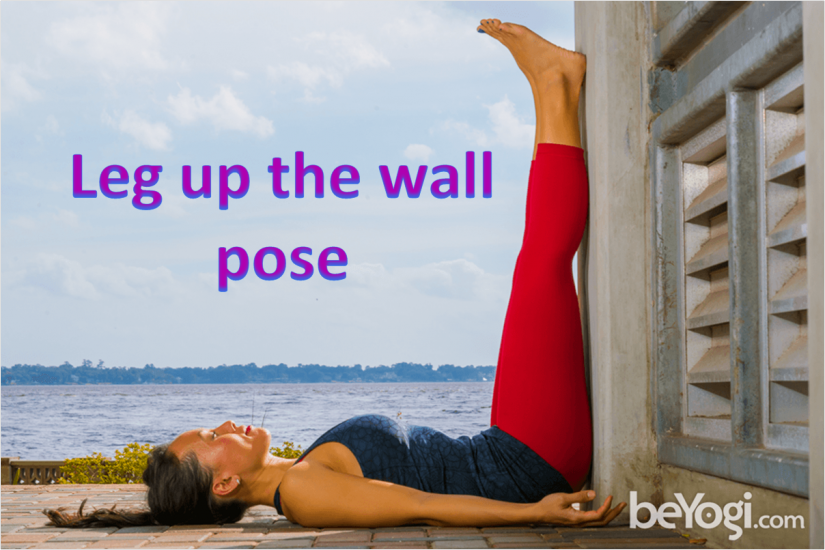
Legs Up the Wall Pose
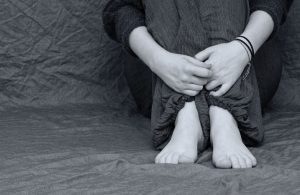
Looking for one yoga pose that has several health benefits ? Then try legs up the wall pose. It has amazing health benefits and an easy pose. It regulates blood flow, alleviates menstrual cramps, relieves swollen ankles and varicose veins, helps testicular, semen, and ovarian problems in men and women respectively, Improves digestion, restores tired feet or legs, stretches the back of the neck, front torso, and back of the legs, improves problems of the eyes and ears, relieves mild backache, provides migraine and headache relief, especially when done with a bandage wrapped tightly around the forehead and back of the skull, Helps keep you young and vital, calms anxiety, relieves symptoms of mild depression and insomnia – Healthylife.
Legs Up the Wall Pose
Sanskrit: Viparita Karani (vee-par-ee-tah kah-rah-nee) viparita = inverted karani = action
BENEFITS
- Passively stretches the hip extensors
- Opens the chest
- Relieves tension in the low back
- Stimulates the parasympathetic nervous system
CONTRAINDICATIONS
- Limited hamstring flexibility
- Limited hip range of motion
- Low back pathologies (avoid rounding)
HOW TO
- Gently come onto your back in front of an open wall space.
- Inhale and lift your legs, placing your calves against the wall and flexing your feet toward the ceiling. Support you head on a blanket or small pillow.
- Exhale and readjust to bring the tailbone as close to the wall as possible. Rest your head and back on the ground, so your body forms a 90-degree angle.
- Feel free to keep the legs extended, or cross them into Lotus pose on your next inhalation.
- Exhale and allow the arms to fall alongside the body with palms facing up. Close your eyes.
- Stay in Legs Up the Wall pose for several minutes. To exit, roll onto your right side and rest in the fetal position before rising.
MODIFY OR REPLACE
Utilize a block against the wall, along with a bolster near the wall, to stabilize the pelvis and keep the body from sliding.
SEQUENCING TIPS
Before:
- Salamba Setu Bandha Sarvangasana (Supported Bridge pose)
- Apanasana (Knee to Chest pose)
- Ardha Apanasana (Half Knee to Chest pose)
- Ananda Balasana (Happy Baby pose)
After:
- Supta Baddha Konasana (Supine Bound Angle)
- Savasana (Corpse Pose)
TEACHING CUES
- Allow your legs to rest gently on the wall and relax.
- Keep the sacrum grounded into your mat or block.
- Allow your eyes to close and feel your body begin to relax with the breath.
- On each inhale, feel your body sinking into the mat and the low spine becoming spacious.
VARIATIONS
Place the legs in Lotus pose or Bound Angle pose.
WATCH OUT FOR
Low back pain
Reference: This article and image both are published here with prior permission from www.beyogi.com
Author: HealthyLife | Posted on: November 9, 2016
« Previous Article
Next Article »
« Anger Control – why it is important? Laughter is the best medicine »
« Anger Control – why it is important? Laughter is the best medicine »


Write a comment