


 Fusion
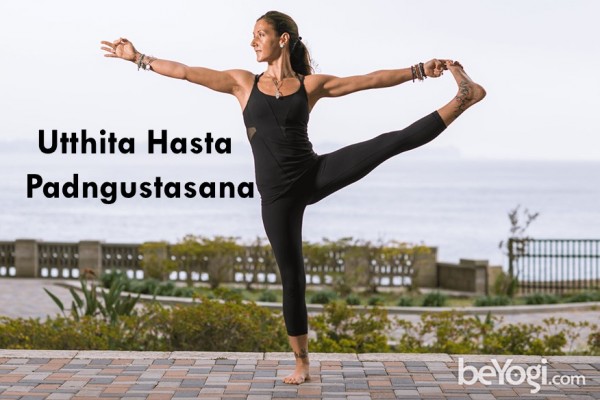
Extended Hand to Big Toe Pose
Extended hand to big toe pose is advanced yoga pose. Yogis who practice yoga daily will be able to perform this pose bit more easily compared to middle or beginner class students.
Practicing hip opener poses and strengthening both arms and legs helps in getting into this pose.
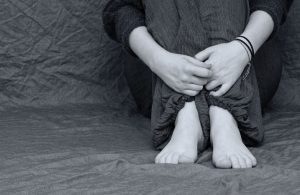
With these concentration on balancing of body with mind is important too. While performing this pose if there is not enough concentration yogi will lose balance and collapse with pose -rounding upper body, knee injury and hurting hands is possible. Slowly, steadily get into pose helps.
The benefit of performing this pose helps in strengthening the feet, ankles, hips, legs, arms and core. It helps to stabilize ankles and gives strength to both legs.
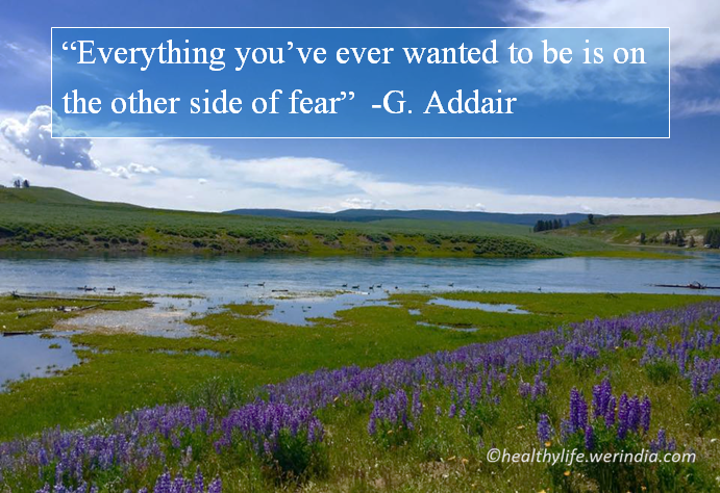
Mind gains confidence, develops focus and balances emotions and feelings. – Healthylife.werindia.com
Utthita Hasta Padangustasana / Extended Hand to Big Toe Pose
LEVEL :Advanced
Anatomy : Glutes, Hamstrings, Hips, Legs, Spine, Thighs
Pose Type: Balance, Standing
Sanskrit :Utthita Hasta Padangustasana (oo-tee-tah ha-sta pad-an-goosh-TAHS-anah)
utthita = extended hasta = hand pada = foot angusta = big toe
BENEFITS
- Lengthens the hamstring of the extended leg
- Stabilizes the hip joint of the standing leg
- Improves single leg balance and stability
- Strengthens the entire spine
- Strengthens the ankle, knee, hip, and shoulder joints, as well as supportive structures of the joints in the standing leg
CONTRAINDICATIONS
- Hip pathologies
- Balance deficits
- Low back pathologies (avoid rounding)
- Ankle, knee, hip, or shoulder injuries
HOW TO
- Start in Tadasana (Mountain pose) with feet hip-width apart, and begin to feel your weight shift over to your right foot. Engage the thigh of the standing leg to support the knee.
- Set your gaze. Inhale and lift your left knee, reaching for the big toe only if you are able to extend the spine back to neutral.
- Exhale, press the heel forward, and begin to extend the knee.
- Inhale and allow your spine to lengthen, lifting out of your torso and drawing your shoulder blades down your back.
- Exhale, draw the abdominals in, and lift the chest.
- Hold this pose for up to 5-10 slow breaths.
- To exit, inhale and release the toe, but keep the leg extended. Then exhale, and release your arm and extended leg to Tadasana. Repeat on the opposite side.
MODIFY OR REPLACE
- Feel free to practice near a wall for support; keep the knee bent as you raise it.
- Place hands at the hips for support or utilize a strap around the foot for extension.
- Stay in standing and extend the heel in front without reaching for the toes.
- Lift leg with a bent knee and reach for the front of the knee.
SEQUENCING TIPS
Before:
- Garudasana (Eagle pose)
- Trikonasana (Triangle pose)
- Vrkasana (Tree pose)
- Parsvottonasana (Pyramid pose)
After:
- Virabhadrasana III (Warrior III)
- Tadasana (Mountain pose)
TEACHING CUES
- Keep the upper and lower spine lifted through the torso.
- Keep hips stacked equally side by side, and slightly engage the inner thighs.
- Draw your knee toward your chest, reach for the inside of the big toe, and extend through the heel.
- On each inhale, feel your chest lift and spine lengthen. On each exhale, press the heel forward.
VARIATIONS
- Utthita Hasta Padangustasana B, C, D
WATCH OUT FOR
- Rounding of the spine
- Tight hamstrings: keep the knees bent
- Pain/strain in the knees, shoulders, or lower back
Article and image published here is with permission from www.beyogi.com
Author: HealthyLife | Posted on: January 22, 2018


Write a comment