Festive Vegan and Vegetarian Food Tips for a Joyful Christmas Table
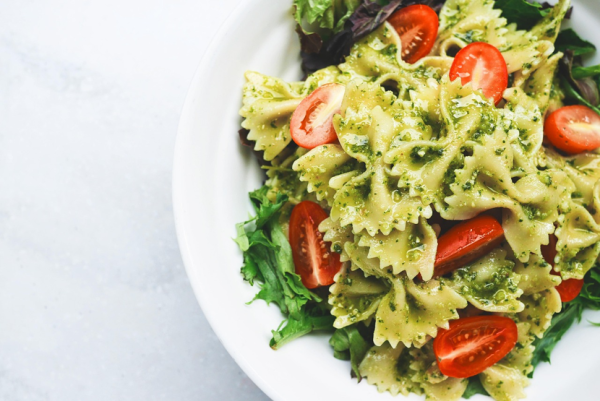
Christmas is a time of warmth, generosity, and shared meals—and plant-based food fits beautifully into the spirit of the season. Whether you are hosting a fully vegan gathering or adding vegetarian options to a mixed table, thoughtful plant-based dishes can feel just as festive, comforting, and indulgent as traditional fare.
Here are practical and delicious vegan and vegetarian food tips for Christmas to help you create a holiday spread that nourishes both people and planet.
Keep the focus on joy, not perfection-
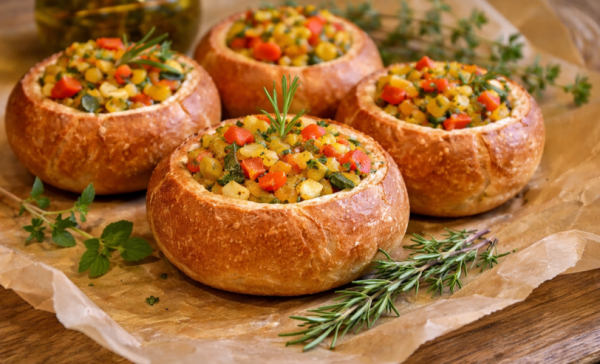
Plant-based holiday cooking does not have to be complicated. Store-bought vegan pastry, sauces, or desserts are perfectly acceptable. What matters most is the spirit of generosity, inclusion, and celebration.
A vegan or vegetarian Christmas table is more than a meal, it is a quiet act of care for our health, animals, and the planet.
Image credit: Image created using Microsoft copilot on Dec 16th 2025 (Original image mushrooms-brown-mushrooms-herbs -Rita-👩🍳 und 📷 mit ❤ from Pixabay (free to use under Pixabay content license)
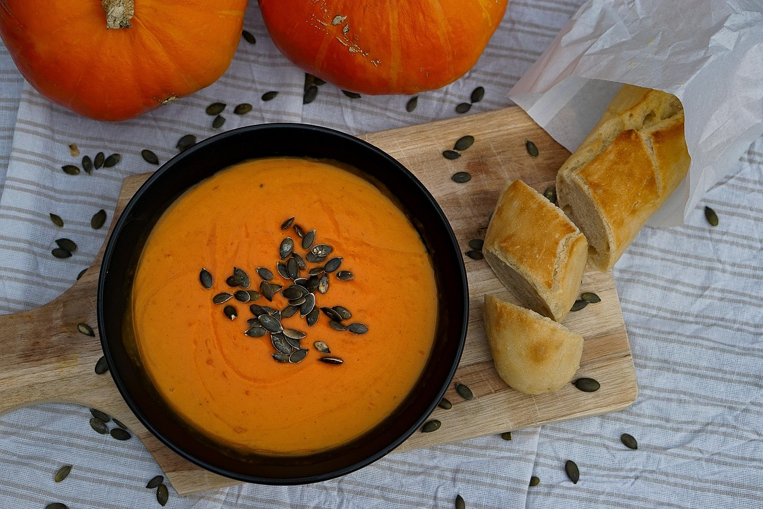
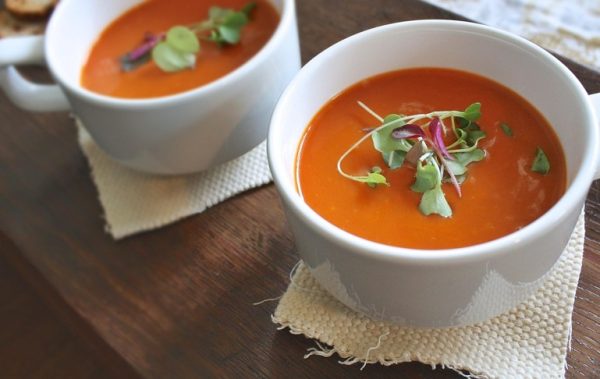
Do you like restaurant style tomato soup? Why not try preparing at home with simple and easily available ingredients. Tomato soup is rich in lycopene, a powerful antioxidant that supports heart health and helps reduce inflammation. It provides vitamins A and C, which strengthen immunity and support healthy skin. Being light and low in fat, tomato soup is easy to digest and can aid hydration and weight management. Its natural acidity may also help stimulate digestion when consumed warm.
Ingredients:
Tomatoes – 3 to 4 medium sizes (about 2 cups, chopped or pureed)
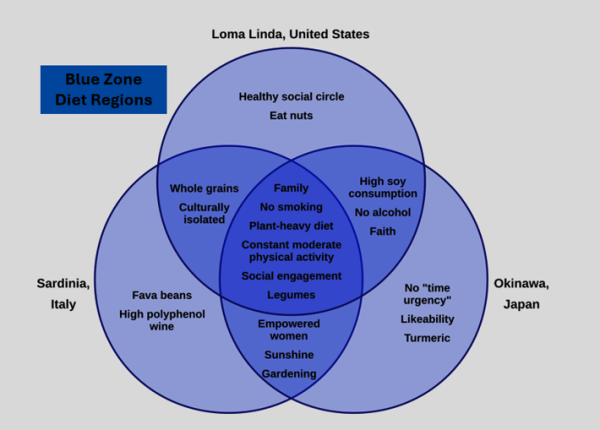
The Blue Zone Diet is inspired by the eating habits of the world’s longest-living people — those who live in the “Blue Zones,” a term coined by National Geographic researcher Dan Buettner. This diet style is mostly plant-based, moderate in calories, and high in antioxidant-rich foods. These are five regions where people consistently live the longest, healthiest lives: Okinawa- Japan, Sardinia- Italy, Nicoya Peninsula- Costa Rica, Ikaria- Greece and Loma Linda- California
Key features:
95–100% vegetarian
Beans and lentils as a cornerstone
Whole grains (like barley, oats, brown rice)
Fermented foods and teas
Minimal sugar and processed food
Foods recommended in blue zone diet:
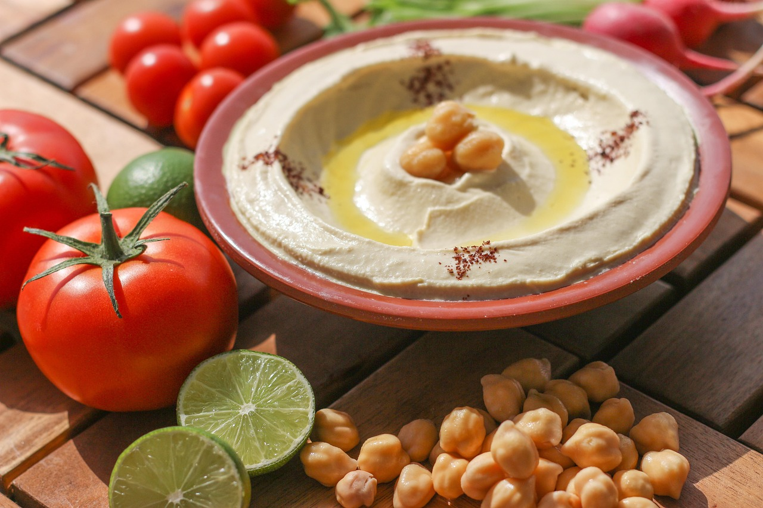
Beans -black, lentils, chickpeas, soybeans, fava
Whole grains -oats, barley, brown rice, corn, sourdough bread
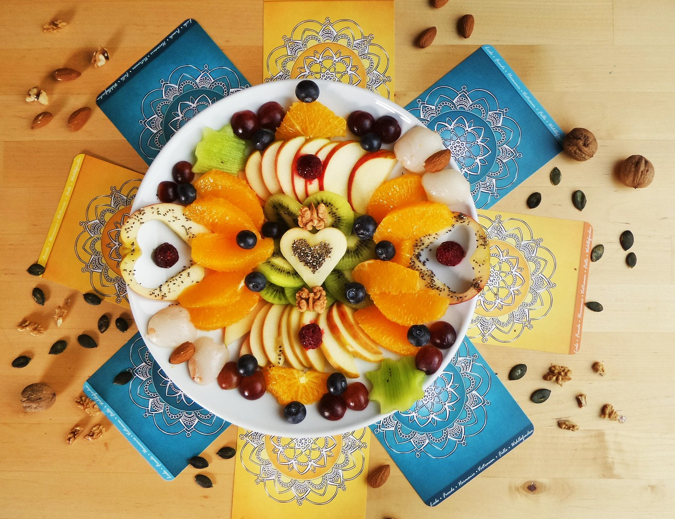
Fruits -lots of berries, citrus, bananas, apples, and stone fruits
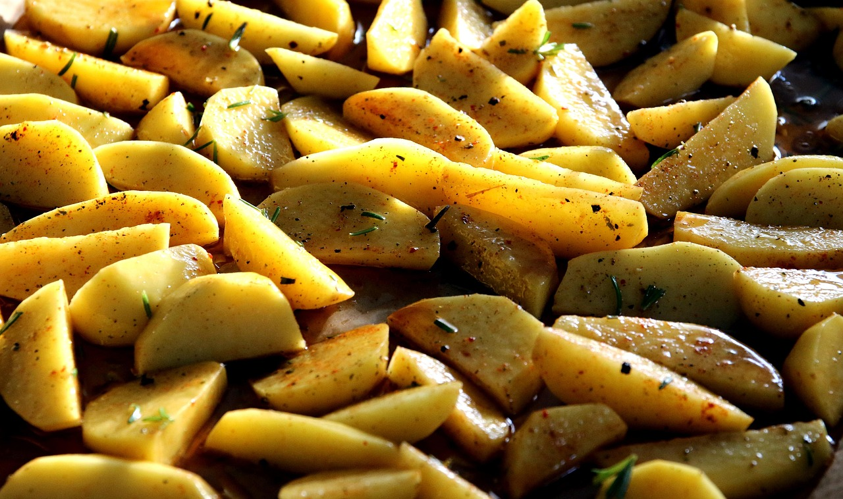
Nuts and seeds -almonds, walnuts, sunflower seeds, pumpkin seeds.
Olive oil -as a main fat source
Herbs and spices -garlic, turmeric, oregano, rosemary
Fermented foods -miso, natto, sourdough, yogurt/curd if dairy is used.
Minimal or no processed foods and sugars
Some people who follow this diet as an exception eat small amounts of fish -only a few times a week and consume minimal dairy -goat’s or sheep’s milk products.
Health benefits: Lower rates of heart disease, diabetes, obesity, and cancer, strong gut health from fiber and fermented foods, lower inflammation due to whole, nutrient-dense foods, supports longevity, mental clarity, and emotional wellbeing.
Image credit: By The RedBurn – Own work, based on File:Vendiagram.gif, CC BY-SA 4.0, https://commons.wikimedia.org/w/index.php?curid=80151900